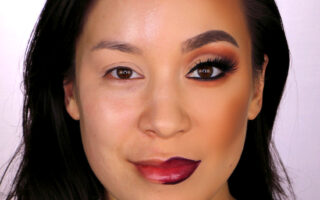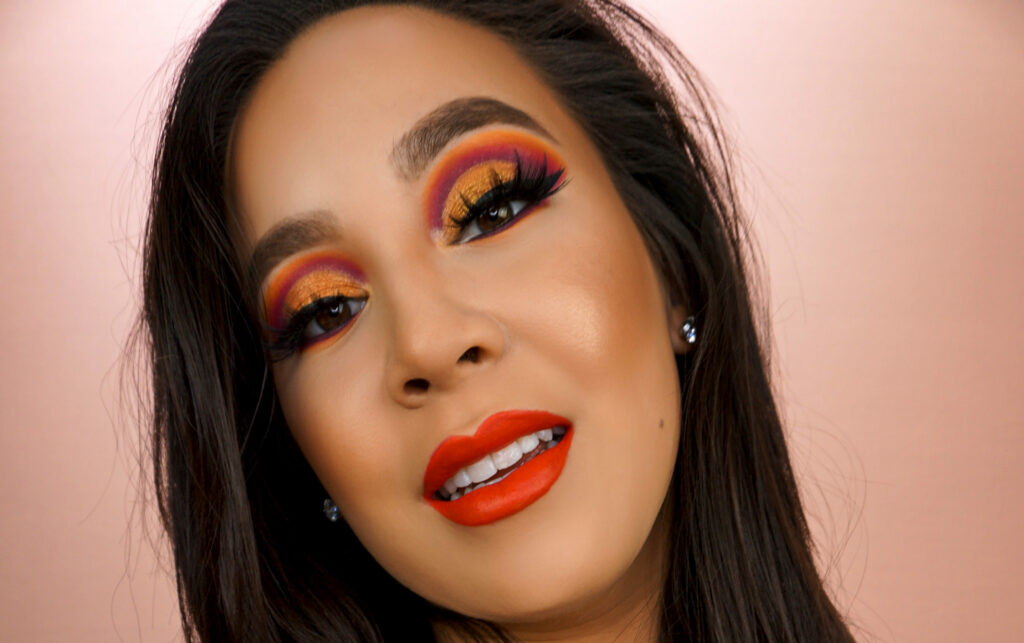
Hey guys! For this post, I wanted to break down how to create a sunset cut crease eyeshadow look, step-by-step, using the original P. Louise palette (and the P. Louise eyeshadow base in Rumour 1, of course).
I hope you find this step-by-step eyeshadow tutorial helpful! And don’t forget to subscribe to my YouTube channel, where you can see me break down my makeup steps in even more detail and follow me on Instagram to keep up with my latest makeup looks!
Oh and just a little side note… this was the first makeup pictorial I ever did, so the quality of the step-by-step pictures is less than ideal, I KNOW. Lol I didn’t edit the pictures at all, and I took them on my iPhone’s front-facing camera… my least favorite camera on the planet, but I’ll save that rant for another time. I also took them without my ring light, so I hope you will forgive the poor quality and accept me as I am 😉 I think I’ve gotten better at these eyeshadow pictorials, so I will be posting more of them soon with at least slightly better quality.
More Beauty Blogs: My Favorite Fall Makeup Looks

Step 1: Lay down the shade Queen from the original P. Louise palette in the crease. Before going in with my eyeshadow color, I started with a wet base, meaning I prepped my lid using the P. Louise eye primer (for this look, I used Rumour 1, which is a little too light for my skintone, but it was the only shade I could buy at the time, because Rumour 2 was sold out, and when in doubt… just buy whatever you can grab ?) and did NOT set the base with any sort of powder before going in with my eyeshadow colors. If you’re wondering how to make eyeshadow colors POP, starting with a wet base is the way to go!
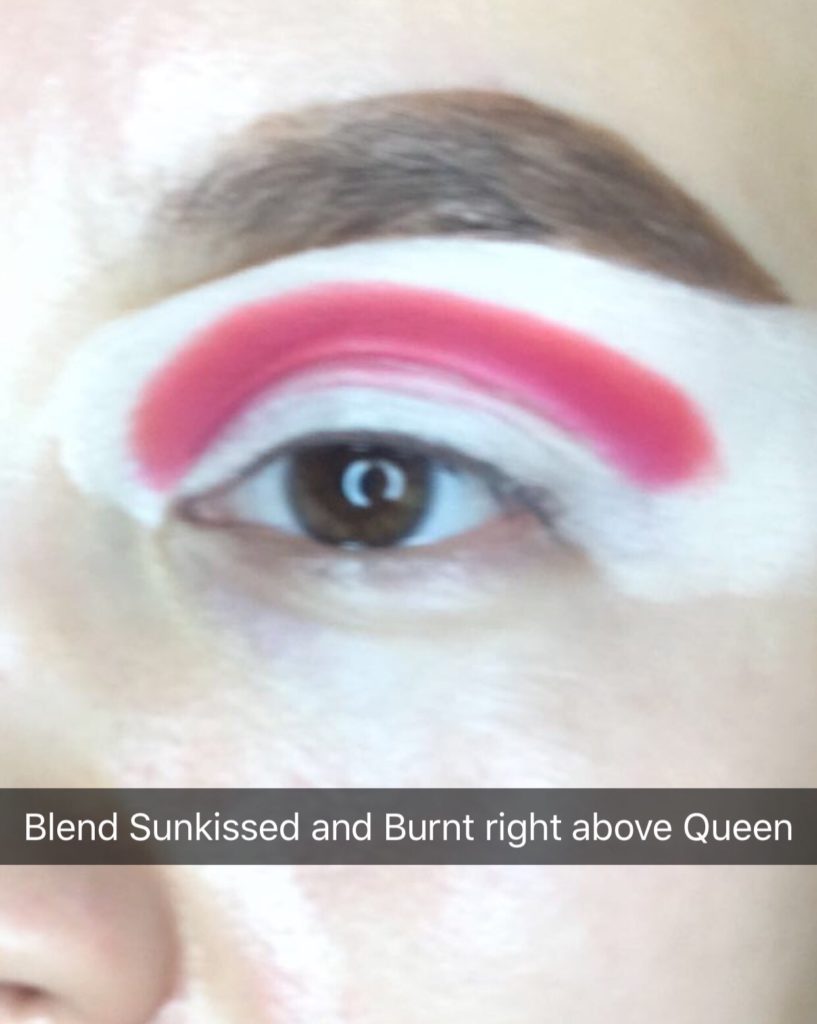
Step 2: Mix the colors “Sunkissed” and “Burnt” together and blend them right above the first shade that we just laid down.
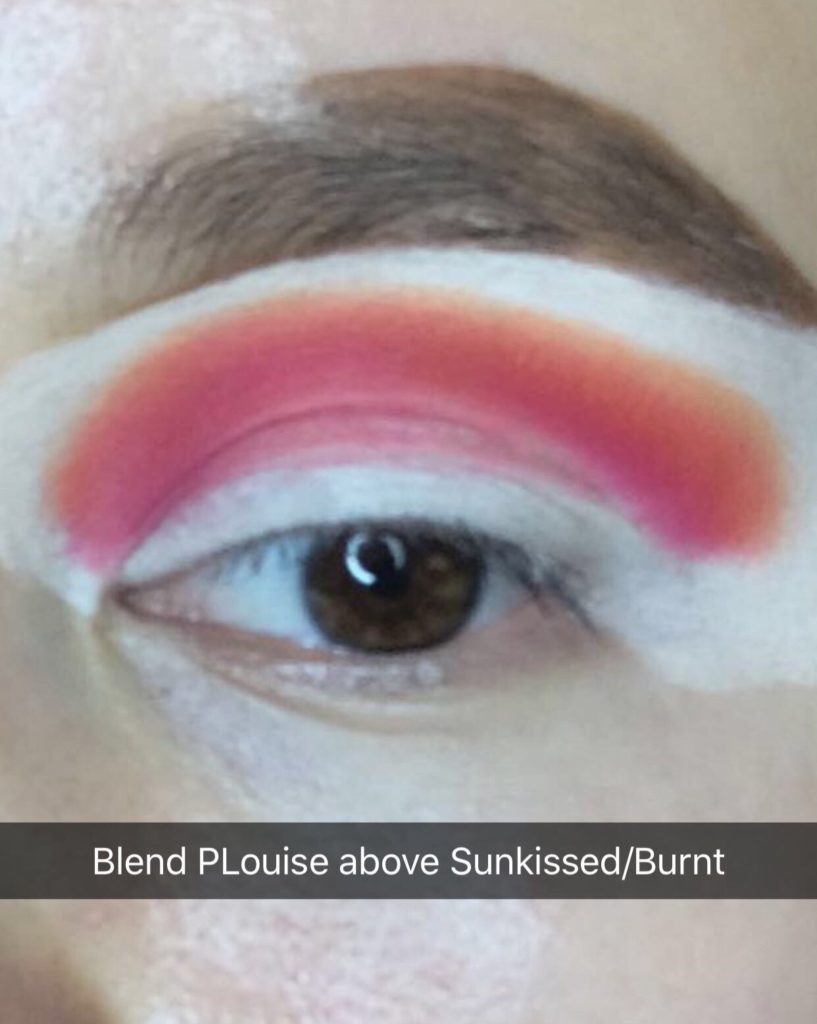
Step 3: Blend the color “P. Louise” right above the last shades, making sure you blend each color a little bit above the shades we just laid down and a little bit on top of the previous shade, which helps to create a nice, soft blend for your eyeshadow colors.
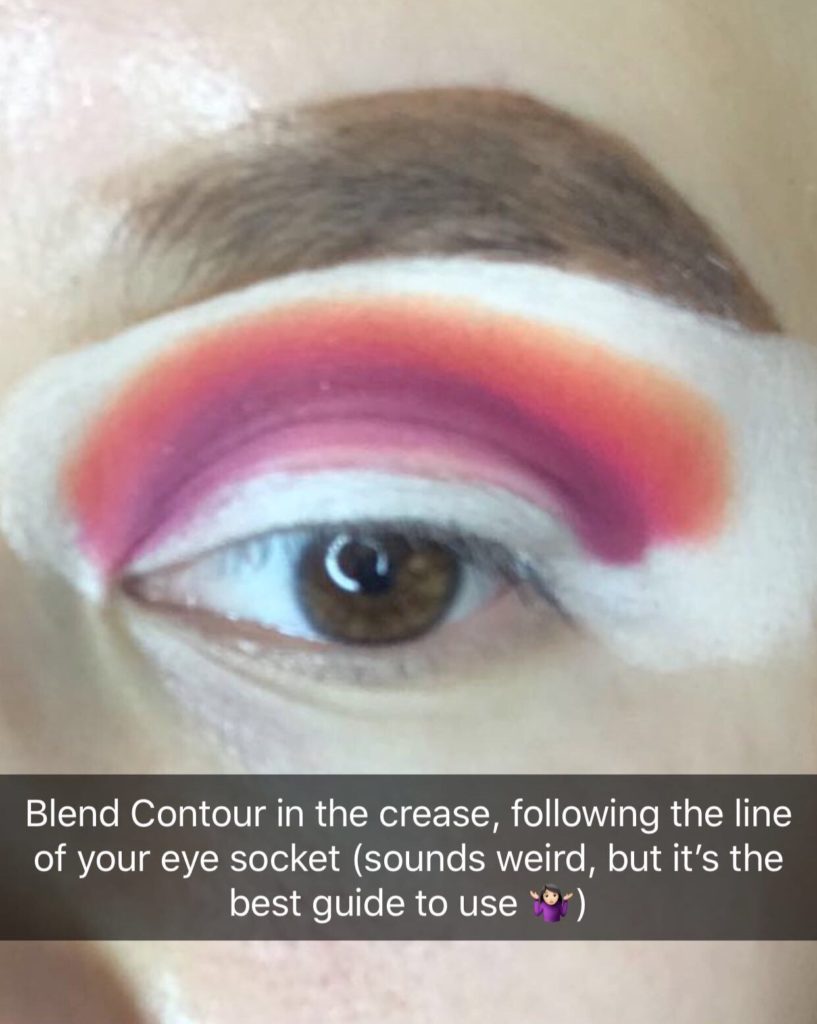
Step 4: Blend the color “Contour” from the P. Louise eyeshadow palette into the crease to darken it up and add more definition.
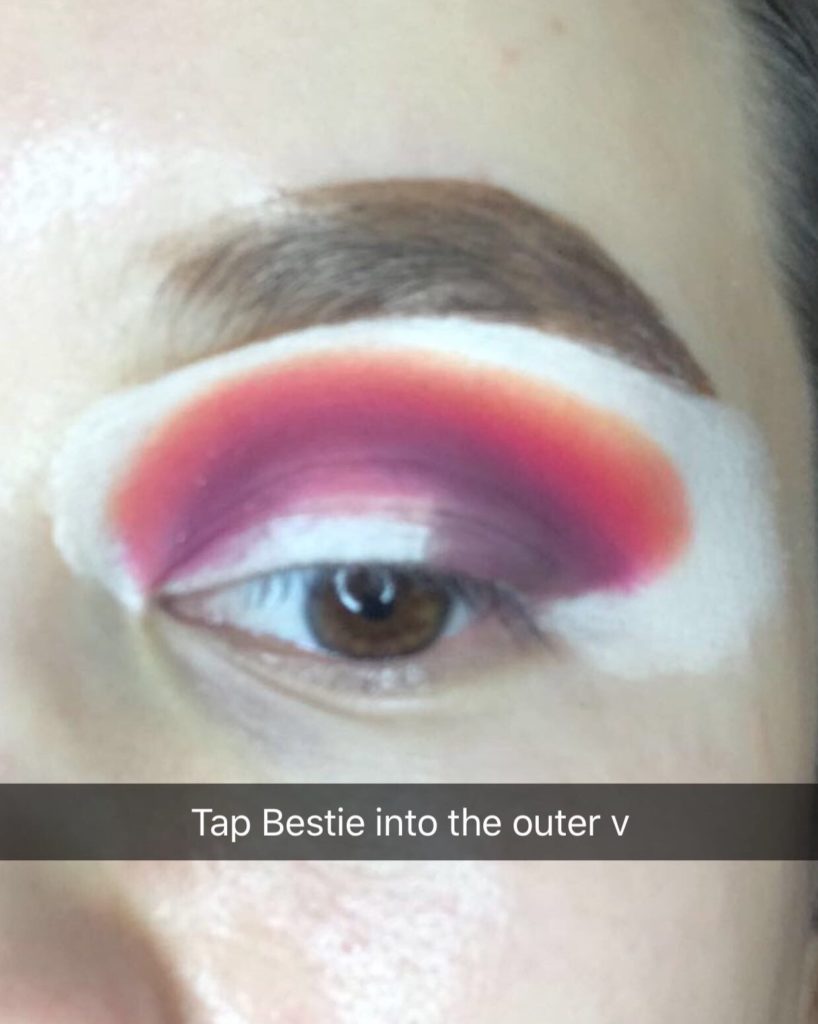
Step 5: Tap the color “Bestie” into the outer v area of the eye.
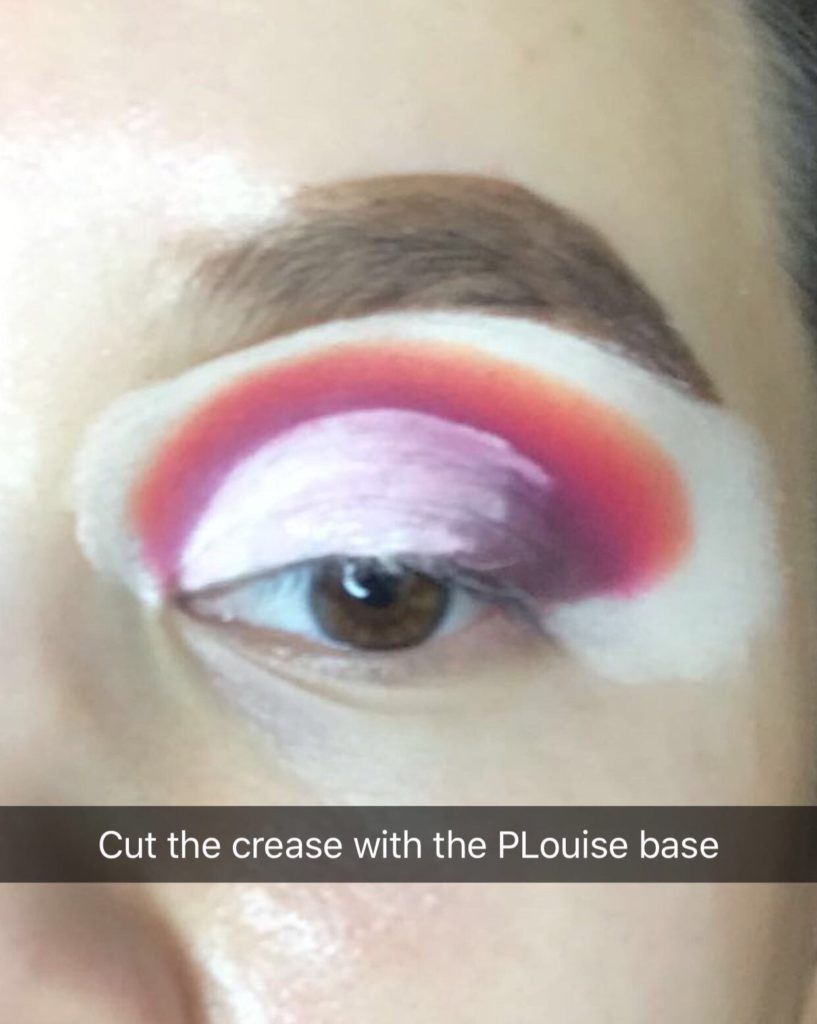
Step 6: Cut the crease with the P. Louise eye primer in Rumour 1. The best way to know where your “crease” is, is to use the outline of your eyeball socket as a guide (tilt your head back when looking into your mirror to help you more easily see where that is). The reason for using your eyeball socket instead of your actual crease as a guide, is because everyone’s crease is in a different spot — some eyes are bigger and some are smaller. For those of us with smaller creases, if we cut the crease exactly where our crease fold is, it will make the eye look smaller instead of opening it up and making it look bigger, and the cut crease we just worked so hard to create will be hidden from the world, which is NO WAY TO LIVE! ?

Step 7: Lay down the yellow color from the Huda Beauty Electric Obsessions palette on top of the base. You could also use the yellow from the P. Louise palette, but I felt like this Huda Beauty shadow had a little more brightness to it, and since I already had it, I figured I might as well use it ??
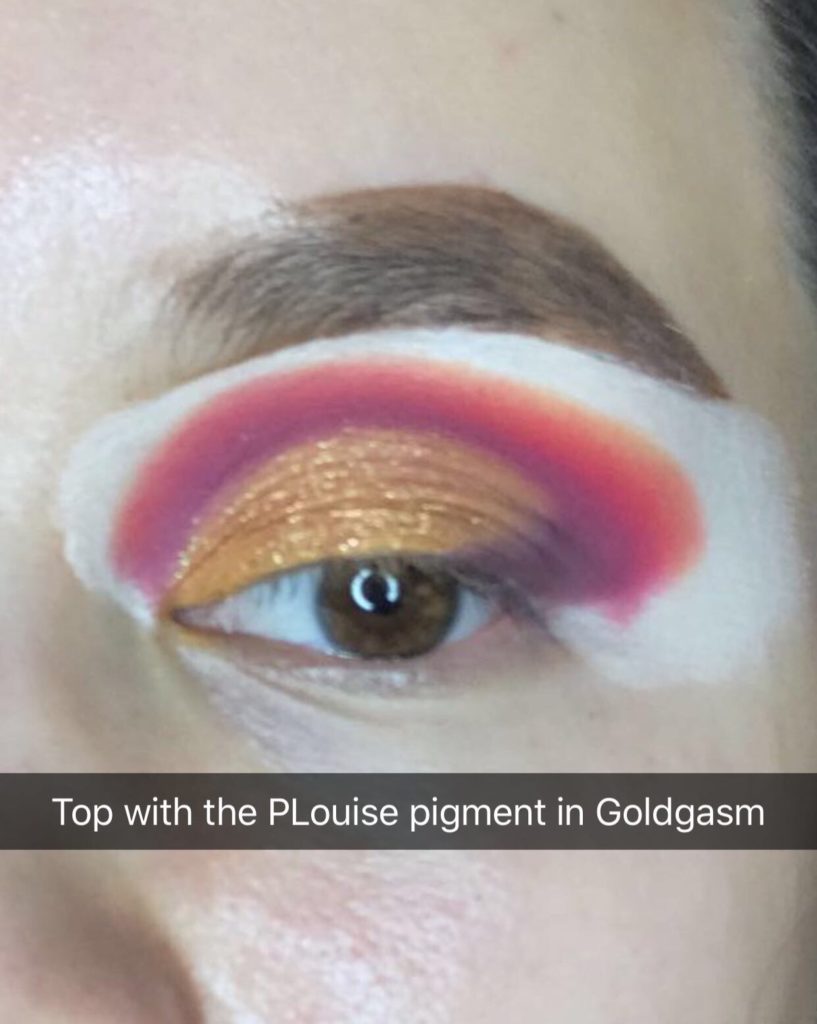
Step 8: Tap the P. Louise pigment in Goldgasm on top of the yellow shadow we just laid down to add a bit of sparkle and pizzazz.
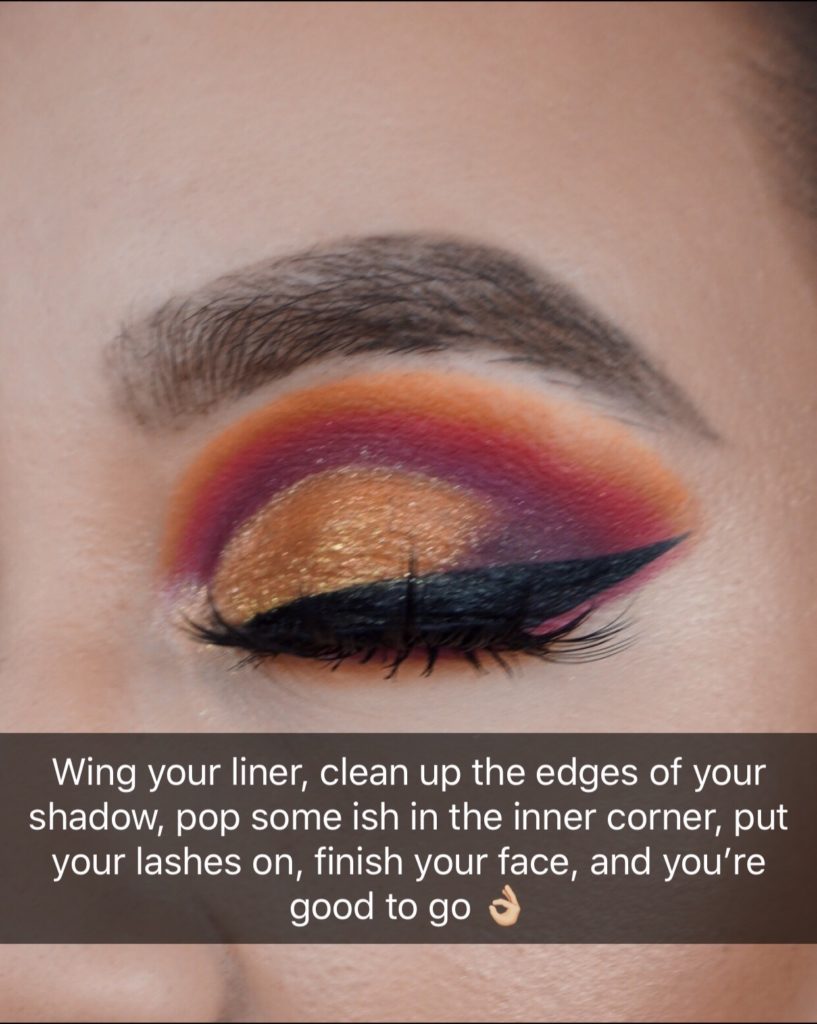
Final Step: Add winged eyeliner, then clean up the shadow below the liner (and any fallout you might have) with some oil-free makeup remover. I always do my eyeshadow before my face, so once you’re done with eyeshadow, move onto foundation and contour, then smoke out your lower lashline with the same crease colors we used, pop on lashes, and you’re donezoooo ?